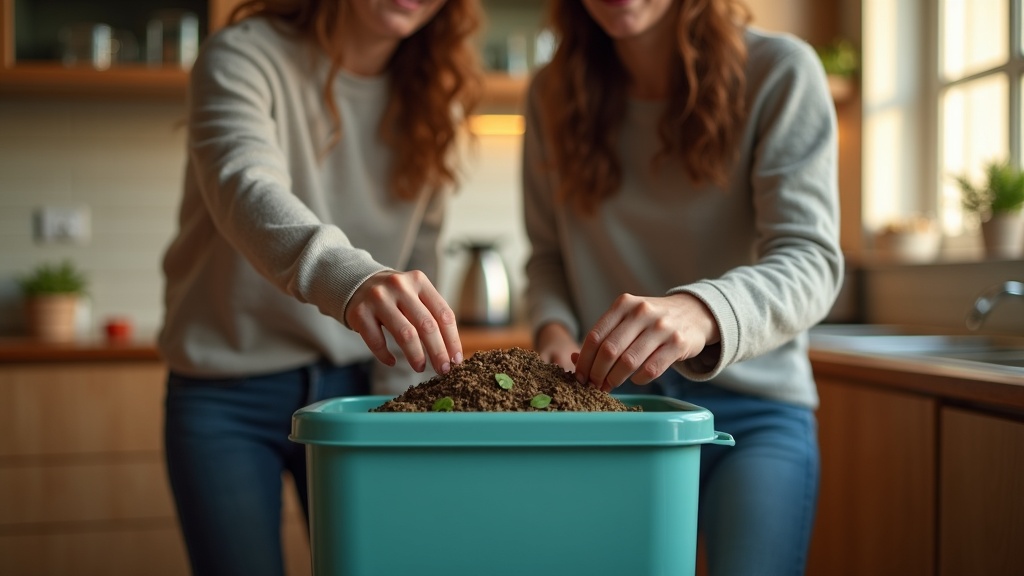
If you live in an apartment, you’ve probably thought about composting your kitchen scraps and then immediately dismissed the idea. The mental image is pretty off-putting: a bin of rotting food in your already cramped kitchen, producing smells that drift into the hallway or bother your roommate. Maybe attracting fruit flies or worse.
But here’s the thing. When done right, indoor composting doesn’t smell. At all. Not like garbage, not like dirt, not like anything you’d wrinkle your nose at. The awful odors most people associate with composting happen when something goes wrong, and those problems are surprisingly easy to avoid.
The secret isn’t expensive equipment or a biology degree. It’s understanding a few simple principles about what causes smell in the first place, and then building a handful of easy habits around those principles. Most of the time, smell comes down to too much moisture, not enough air circulation, or tossing in the wrong materials.
Thousands of apartment dwellers are already composting successfully in spaces smaller than yours. They’re doing it in studio apartments, in shared housing, even in dorm rooms. They’re not dealing with smells or pests because they’ve learned what actually works in tight quarters.
If you can remember to take out the trash and water a houseplant, you can handle odorless indoor composting. This isn’t about becoming a composting expert. It’s about turning your kitchen waste into something useful without making your living space unpleasant.
Why indoor compost smells in the first place
Here’s the thing most people don’t realize: composting itself doesn’t smell bad. What smells bad is food rotting without enough air or balance. When your indoor compost bin starts to reek, it’s usually trying to tell you something specific went wrong.
The biggest culprit is almost always too much wet, squishy stuff. Banana peels, coffee grounds, soggy vegetables—they’re all great for compost, but when they pile up without anything to absorb the moisture, they turn into a slimy, airless mess. That’s when you get the rotten smell, the one that makes you want to hold your breath.
The other common problem is not enough airflow. Compost needs oxygen to break down properly. When everything’s packed tight or sitting in a sealed container with no ventilation, the whole process goes sideways. Instead of breaking down cleanly, your scraps start fermenting and producing that sour, garbage-like odor.
Letting food sit out at room temperature before adding it to your bin doesn’t help either. Warmth speeds up decomposition, but not in a good way when scraps are just sitting exposed on your counter.
Now, here’s an important distinction: a faint earthy smell is actually normal and fine. It means things are breaking down the way they should. Think of it like the smell of soil after rain—pleasant, natural, maybe a little musty. But if your nose wrinkles and you’re catching whiffs of something sour, sulfurous, or straight-up rotten, that’s your signal that the balance is off and something needs adjusting.
Pick an indoor compost setup that matches your space and tolerance
Not all indoor composting systems are created equal, especially when you share walls with neighbors or roommates who might not appreciate your eco-friendly ambitions. The key is matching the method to your actual living situation, not just your intentions.
A sealed countertop caddy is the simplest starting point. This is just a container with a tight lid where you collect scraps before taking them somewhere else, like a community compost drop-off. It doesn’t actually compost anything. The catch is that you need to empty it every few days, or it will start to smell no matter how good the seal is. These work fine on a counter or under the sink.
A small ventilated bin with drainage lets scraps break down slowly using air flow. These need more attention than you might expect. If the balance of wet and dry materials gets off, or if air can’t circulate properly, you’ll get that sour, rotting smell. They work best in a spot with some airflow, like a balcony or near a window, not tucked into a dark cabinet.
Bokashi bins use a fermentation process instead of traditional composting. You layer kitchen scraps with special bran that contains helpful microbes, then seal it up tight. Done right, it smells pickled or slightly sweet, not rotten. The downside is you still need to bury or compost the fermented results afterward. These can live under the sink or in a pantry since they’re completely sealed.
Worm bins are surprisingly odor-free when maintained properly. The worms eat your scraps and turn them into rich compost. But if you overfeed them, add the wrong foods, or let the bin get too wet, it can smell swampy. They need a stable temperature, so a closet or under-sink spot usually works better than a balcony.
Set up your bin so odor has fewer chances to start
The best way to avoid odor is to make sure it never gets a chance to develop. That starts with where you put your bin. Pick a spot that stays cool and doesn’t get direct sunlight. Heat speeds up decomposition, which sounds good until you realize it also means faster smells. A cabinet under the sink, a pantry corner, or even a closet shelf works well.
A tight-fitting lid is your first line of defense. It keeps odors in and fruit flies out. But here’s the thing: the bin still needs some airflow if you’re doing traditional composting. If you’re using a sealed system like bokashi, you want it airtight. For open-air methods, look for bins with small vents or filters built in.
Charcoal filters are surprisingly effective in small spaces. They trap odor molecules before they escape into your kitchen. Many compost bins designed for apartments come with a replaceable charcoal disk in the lid. If yours doesn’t, you can buy universal filters online and attach them yourself without any tools.
Use a removable liner or insert if possible. It makes cleaning so much easier, and a clean bin is a less smelly bin. Even just lining the bottom with newspaper helps absorb moisture and makes emptying simpler.
Speaking of moisture, always keep a dry base layer at the bottom. Shredded paper, cardboard, or dry leaves soak up excess liquid from food scraps. Liquid pooling at the bottom is one of the fastest routes to bad smells and potential leaks. If you see liquid collecting, drain it or add more dry material right away.
Keep the wet-dry balance simple with everyday ‘browns’
Most indoor compost bins start smelling when they get too wet. Kitchen scraps like banana peels, coffee grounds, apple cores, and wilted greens are packed with moisture. When you toss them in a bin without anything to soak up that wetness, they turn into a soggy mess that starts to smell like rotting garbage within a day or two.
The fix is surprisingly simple. You just need dry materials to balance out the wet stuff. Composters call these “browns,” but you don’t need to overthink it. Torn cardboard from cereal boxes works great. So do paper egg cartons, paper towels, shredded office paper without glossy coating, and dry leaves if you can grab a handful from outside. Even the brown paper bags from the grocery store, ripped into pieces, do the job perfectly.
Here’s the easy routine: every time you add food scraps to your bin, cover them with a layer of torn cardboard or paper. Think of it like tucking your scraps under a blanket. This dry layer traps odors immediately and starts absorbing moisture right away. You don’t need to measure anything or get the proportions perfect. Just make sure the wet stuff isn’t sitting exposed on top.
Skip this step and you’ll notice the difference fast. The bin gets slimy. It smells sour or like ammonia. Fruit flies and gnats show up because they love wet, rotting material. But when you keep that dry cover in place, the bin stays balanced. Air can still circulate, moisture gets absorbed, and the whole thing breaks down without turning into a stinky swamp.
Handle kitchen scraps in ways that reduce odor before they hit the bin
The biggest mistake people make is tossing wet, messy scraps straight into their compost bin. That excess moisture is what causes the smell. Before anything goes in, give it a quick squeeze or shake to drain off liquid. Coffee grounds, for example, should be patted down with a paper towel. Watermelon rinds can sit in your regular trash for a minute to drip dry.
Chopping up larger pieces helps too, but not because it speeds up composting. In a small apartment, smaller pieces just fit better and expose less surface area to start smelling. You don’t need to mince everything. Just break or cut big items into chunks that won’t sit there dominating your bin.
Never add hot food scraps. Let them cool to room temperature first. Heat creates steam, and steam means moisture and faster breakdown, which equals odor. It’s the same reason a warm trash bag smells worse than a cold one.
Here’s a trick that works surprisingly well: keep a small sealed container in your freezer for scraps. Toss potato peels, onion ends, and veggie trimmings in there throughout the week. Freezing completely stops decomposition, which means zero smell. When the container is full, transfer everything to your main compost system in one go.
If the freezer feels like too much, just use a small lidded container on your counter and empty it every day or two. In shared apartments, daily transfers keep things fresher and less noticeable to roommates. The key is not letting scraps sit long enough to start breaking down before they’re supposed to.
Know the few inputs that most often cause stink and pests indoors
Not all kitchen scraps are created equal when it comes to indoor composting. Some materials break down quickly and quietly. Others will announce themselves to you, your roommates, and possibly your neighbors within days.
The biggest troublemakers are meat, fish, dairy products, and greasy or oily foods. These contain fats and proteins that decompose differently than fruit peels or coffee grounds. They break down slowly and produce strong odors as they rot. They also attract fruit flies, gnats, and other pests that can smell a good meal from across the hallway.
Cooked food can be tricky too, especially in large amounts. A few pasta scraps mixed with vegetable peels might be fine, but a plate of leftover casserole will likely turn sour before it breaks down. The oils, sauces, and seasonings don’t play nicely in small indoor systems.
Why does this matter more indoors than in a backyard pile? Space and airflow. Outdoor compost heaps can handle more variety because they’re bigger, hotter, and better ventilated. Your countertop bin doesn’t have those advantages. It’s working in a confined space where smells have nowhere to go and pests have easy access.
The simplest solution is to keep these items out of your compost entirely. Toss them in the regular trash, or if your city offers it, use a municipal composting program that accepts a wider range of materials. Some specialized indoor systems like bokashi fermentation can handle meat and dairy, but standard bins really can’t. Stick with fruit and vegetable scraps, eggshells, coffee grounds, and plain grains, and you’ll avoid most of the common pitfalls.
Stop fruit flies and other pests before they settle in
Here’s the thing most people don’t realize: those fruit flies didn’t hatch inside your compost bin. They arrived as tiny eggs already stuck to your banana peels and apple cores. When you toss that produce into a warm, moist bin, you’re basically running a fruit fly nursery.
The good news is that prevention is surprisingly simple. Keep your scraps covered at all times. Every time you add kitchen waste, bury it under a layer of dry material like shredded paper, cardboard, or dried leaves. Think of it as tucking your scraps into bed under a blanket. Exposed food is an open invitation.
Wipe down the rim of your bin regularly. Food residue around the edges creates a perfect landing pad for pests. A quick wipe with a damp cloth after each addition takes five seconds and makes a real difference.
If you’re worried about that half-eaten melon or those coffee grounds sitting around, pop them in the freezer until you’re ready to add them to your bin. This kills any eggs and gives you control over timing. It’s especially helpful in shared apartments where you might not want to run out to your bin multiple times a day.
Keep a small container of dry browns near your compost setup. Having shredded paper or cardboard within arm’s reach means you’ll actually use it every time.
If gnats do appear, don’t panic. Add extra dry material on top, skip adding fruit scraps for a few days, and clean the lid and edges thoroughly. They usually disappear within a week when their food source gets covered up. No sprays or traps needed, just a bit more brown material and a quick cleaning.
Fix smells fast with a few targeted moves
The good news is that a smelly compost bin doesn’t mean you’ve failed or need to throw everything out. Most odor problems have simple causes and even simpler fixes. The smell itself gives you clues about what’s going wrong.
A sour or rotten smell usually means things are too wet or packed down too tightly. When air can’t circulate, the wrong kind of bacteria take over and create that unpleasant funk. The fix is straightforward: add a generous handful of dry materials like shredded newspaper, torn cardboard, or dry leaves. Then give everything a gentle stir or fluff if your bin design allows it. This brings in oxygen and soaks up excess moisture.
An ammonia-like smell that stings your nose means you’ve added too much nitrogen-rich food waste without enough carbon-rich dry material to balance it out. Think of it like this: fruit and vegetable scraps are wet fuel, and dry browns are the sponge that keeps things balanced. Add more shredded paper or cardboard right away, and maybe ease up on adding fresh scraps for a day or two.
If you spot a particularly nasty pocket of rotting material, just scoop it out and toss it in your outside trash. It’s not worth keeping. You can also wipe down the inside of your bin with a damp cloth if things feel grimy.
When the smell feels overwhelming, don’t be afraid to take your bin outside to a balcony or hallway for an hour while you air out your kitchen and reset things. If you have freezer space, pause new additions by freezing scraps temporarily until the bin stabilizes. A quick intervention now prevents a lingering problem later.