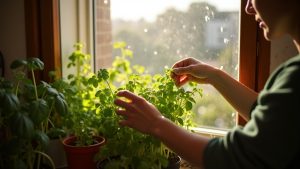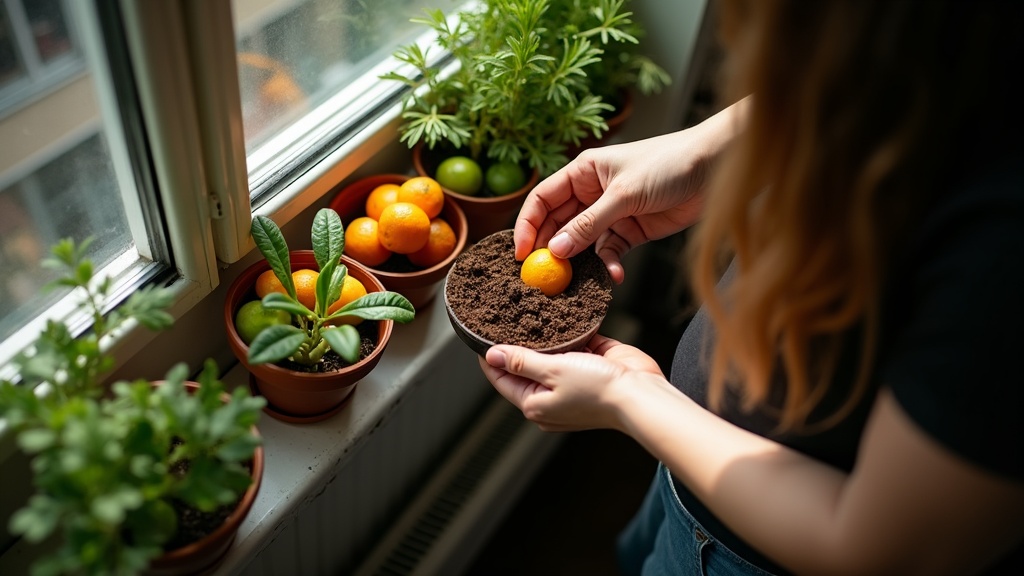
If you live in an apartment, you’ve probably tossed out banana peels, coffee grounds, and vegetable scraps without a second thought. Maybe you’ve felt a little guilty about it. After all, those scraps could become compost if you had a backyard. But you don’t.
Here’s the good news: you don’t need a yard or even a full compost bin to turn kitchen waste into healthier soil for your indoor plants. Small amounts of everyday scraps can go directly into your potting mix with the right approach. No tumbler required.
The idea might sound messy or risky at first. You’re probably wondering about smells, fruit flies, or whether burying an orange peel in a pot will just make it rot and stink up your living room. Those are fair concerns, and they’re exactly why most apartment dwellers never try this.
But the truth is, most of these worries come from misunderstandings about what works indoors and what doesn’t. Not all scraps are apartment-friendly, and timing matters. When you know which materials break down cleanly and how much your soil can handle, the whole process becomes surprisingly simple.
This guide will show you how to safely add kitchen scraps to your potting soil without creating a science experiment gone wrong. You’ll learn which scraps work best, how to prepare them so they don’t cause problems, and how to avoid the common mistakes that lead to odors and pests. Your plants will get richer soil, and a little less waste will leave your kitchen each week.
Which kitchen scraps actually help apartment soil
Not all kitchen scraps are created equal when you’re working with small spaces. Some break down easily and enrich your soil without causing drama. Others will smell, attract bugs, or turn into a moldy mess before they do any good.
The safest bets for apartment composting are fruit and vegetable peels, coffee grounds, tea leaves, and crushed eggshells. These break down relatively quickly and add nutrients that plants love. Coffee grounds bring nitrogen, which helps leafy growth. Eggshells add calcium as they slowly decompose. Banana peels and apple cores contribute potassium and other good stuff without much fuss.
These scraps also tend to stay fairly neutral in smell when handled properly. They won’t attract fruit flies the way some foods do, and they don’t create the kind of environment where mold takes over instantly.
Now for the troublemakers. Meat, dairy, oily foods, and anything covered in sauce or grease should stay out of your apartment composting setup. These scraps break down slowly and smell terrible while doing it. They also attract pests you definitely don’t want as roommates. Even a small piece of chicken or a glob of yogurt can turn your compost bin into a regret.
Bread and cooked rice fall into a gray area. They can work in outdoor compost piles, but indoors they often get moldy or attract insects before breaking down properly. When in doubt, skip them.
Sticking to the simple, plant-based scraps keeps your system manageable and your apartment pleasant. You’ll get good soil without the headaches.
How to store scraps without odor or fruit flies
The biggest worry most apartment dwellers have about saving kitchen scraps is the smell. Nobody wants their kitchen to reek like a dumpster or attract a cloud of fruit flies. The good news is that a few simple habits make all the difference.
Start with a container that has a tight-fitting lid. That single feature solves half the problem right away. You can use an old yogurt tub, a takeout container, or a small bin you already own. The lid traps odors and keeps flies out. Just make sure it seals well.
The real culprit behind bad smells is moisture. When scraps sit in their own juice, they start to rot instead of decompose. This creates that sour, garbage smell. To avoid this, line your container with a paper towel or sprinkle a little dry material on top of wet scraps. Shredded newspaper, dry leaves, or even a handful of soil work perfectly. This absorbs excess liquid and keeps things balanced.
If you have limited space or go through scraps slowly, freezing is your friend. Keep a bag or container in the freezer and toss scraps in as you cook. Frozen scraps don’t smell, don’t attract flies, and can be added to your compost setup whenever you’re ready. This works especially well in summer when fruit flies are most active.
Empty your container often. Even with a lid and dry material, scraps left sitting for more than a few days will start to smell. Aim to transfer them to your composting system every two to three days. If you notice any odor or see fruit flies, it’s usually a sign that things are too wet or have been sitting too long. Add more dry material and empty it sooner next time.
Apartment-friendly ways to turn scraps into soil boosters
You don’t need a backyard to turn kitchen scraps into something your plants will love. Several compact methods work beautifully indoors, and each fits a different lifestyle and comfort zone.
A countertop worm bin is probably the most popular apartment option. You keep a small container of red wiggler worms that eat your fruit and veggie scraps and turn them into worm castings, which is a fancy name for nutrient-rich worm poop. The castings look like dark, crumbly soil and work wonders mixed into potting mix. Most bins are about the size of a large shoebox and sit quietly under your sink or in a closet. The whole process takes around two to three months from scrap to finished castings. You’ll need to feed the worms regularly and keep the bedding moist, but it’s not complicated once you get the hang of it.
Bokashi composting uses a special bucket and a bran mixture that’s been treated with helpful microbes. You layer your scraps with the bran, press out the air, and seal the lid. The scraps ferment instead of rotting, which sounds weird but doesn’t smell bad if you keep the lid closed. After about two weeks, you get fermented scraps that aren’t finished compost yet. You’ll need to bury them in soil or mix them into a planter where they’ll break down further over another few weeks. Bokashi handles meat, dairy, and cooked food, which worms can’t process.
If you want something even simpler, sealed countertop composters are now available that use heat, grinding, or dehydration to break down scraps quickly. They produce a dry, soil-like material in hours or days. They cost more upfront and use electricity, but they’re practically hands-off and odor-free.
How to add scrap-based amendments to container soil without harming plants
The biggest mistake people make with homemade compost is adding too much at once. Your plants don’t need a heap of coffee grounds or a thick blanket of crushed eggshells. A little goes a long way, especially in containers where roots have nowhere to escape if things go wrong.
Start by mixing small amounts into your potting soil. A tablespoon or two per gallon of soil is plenty. Blend it in gently before planting, or work it into the top few inches of existing containers. Think of it like seasoning food. You can always add more later, but you can’t easily take it back.
Keep your amendments away from plant stems. Direct contact with decomposing material can cause rot or burn tender tissue. Leave at least an inch of clear space around the base of each plant. If you’re top-dressing an established container, sprinkle your compost around the edges rather than piling it at the center.
Watch your containers for warning signs after adding anything new. A sour or rotten smell means things are breaking down without enough air. Fungus gnats hovering around the soil suggest it’s staying too wet. White mold on the surface usually means poor drainage or too much organic matter packed in tight.
If you notice problems, don’t panic. Remove any visible excess from the surface. Let the soil dry out slightly between waterings. You can also mix in a handful of fresh potting soil to dilute what’s there and improve airflow. Most issues resolve themselves once you give the container a chance to balance out.
Quick kitchen-scrap soil boosts that don’t require composting
Not ready to set up a full composting system? You can still put certain kitchen scraps to work in your apartment plants right away. These simple tricks won’t replace quality potting soil, but they add small benefits without the smell or hassle of indoor composting.
Eggshells are probably your safest bet. Rinse them clean, let them dry completely on a windowsill or counter for a few days, then crush them into small pieces. You can use a rolling pin or just crumble them in your hands. Mix a small handful into your potting soil when repotting. The bits add tiny air pockets and release calcium slowly over time. Don’t expect miracles, but it’s a nice little extra that costs you nothing.
Coffee grounds can help too, but go easy. A light sprinkling mixed into the top inch of soil once a month is plenty. Too much makes the soil hold water in ways that can cause problems. Always let the grounds cool and dry out a bit first. Never dump wet grounds directly on top.
Some people make gentle scrap teas by steeping vegetable peels in water overnight, then using that water on their plants. This only works if you use it immediately and keep everything clean. Leftover cooking water is tempting, but skip it if you added salt, oil, or seasoning. Plain is the only safe option.
The key with all these tricks is moderation and cleanliness. Your apartment has warm air and limited ventilation compared to outdoor gardens. What works in a backyard can turn smelly or moldy indoors. When in doubt, use less than you think you need.