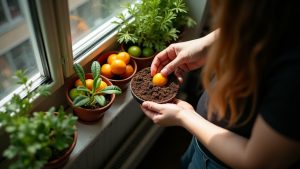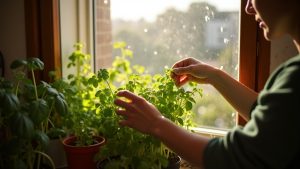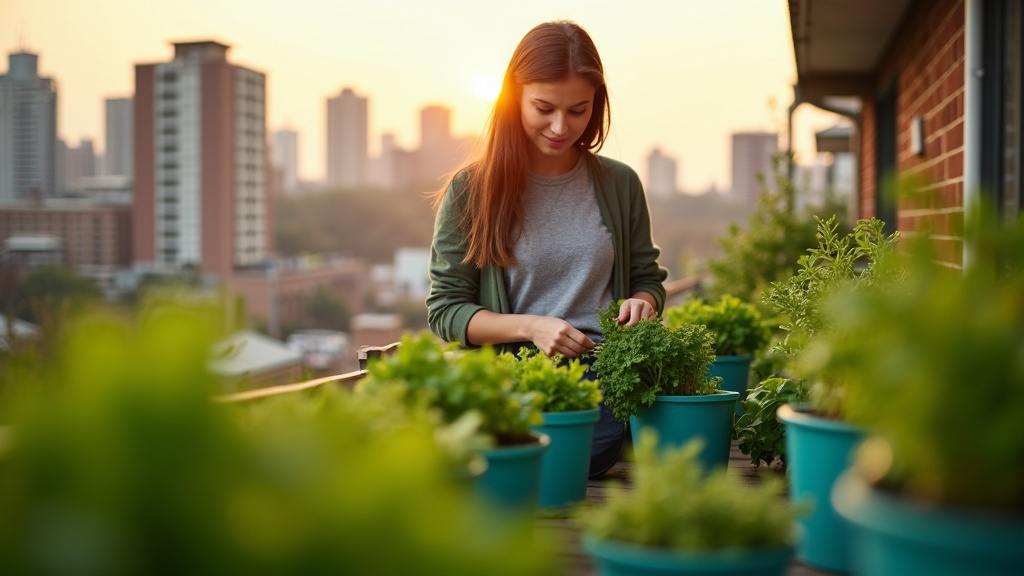
You don’t need a backyard or even a balcony to grow your own salad greens. A sunny windowsill works. So does a corner of your kitchen counter with a small grow light. If you’ve got a few square feet of space in your apartment, you can have fresh lettuce, arugula, or spinach whenever you want it.
When we say year-round, we mean it literally. Indoor growing doesn’t care about frost dates or winter weather. You control the light, temperature, and water, so the seasons outside don’t matter. Your greens grow at the same pace in January as they do in July.
Continuous harvest is a little different from planting a garden once and waiting. It means you plant small batches every week or two, so you always have something ready to pick. Instead of harvesting everything at once and then waiting weeks for the next round, you’re snipping leaves for your salad a few times a week, all year long.
This isn’t complicated or expensive. You don’t need fancy equipment or a green thumb. Most apartment salad greens grow fast, forgive mistakes, and don’t take up much room. The goal isn’t to replace your grocery store entirely. It’s to have something fresh and satisfying that you grew yourself, right there in your apartment.
If you’ve ever paid five dollars for a container of spring mix and watched half of it wilt in your fridge, you already understand the appeal. Let’s talk about how to make it happen.
Start with greens that actually like indoor life
Not all salad greens are created equal when it comes to apartment life. Some plants need tons of light and space to thrive. Others are perfectly happy on a windowsill or under a small grow light, growing fast enough that you’ll actually get to eat them before you lose interest.
The easiest place to start is with loose-leaf lettuce and arugula. These are what gardeners call cut-and-come-again greens, which just means you snip off the outer leaves as they grow and the plant keeps producing more from the center. You’re not waiting for a full head of lettuce to form. You’re just harvesting a handful whenever you want a salad.
Baby greens like spinach, mustard greens, and baby kale work the same way, but you’re harvesting them even younger when the leaves are tender and mild. They grow quickly and don’t need as much light as full-sized plants, which makes them ideal for apartments.
If you want something even faster, try microgreens. These are just regular vegetable seeds grown for about one to two weeks until they sprout their first little leaves, then you cut the whole thing and eat it. Radish and broccoli microgreens are especially good for beginners because they grow in less than ten days and taste peppery and fresh.
For a continuous harvest feeling, plant a small container of something new every week or two. That way you’re always a few days away from having fresh greens ready, rather than waiting for one big harvest that comes and goes. Arugula and microgreens are perfect for this because they’re ready so fast you’ll stay motivated.
Make peace with light by setting up a reliable source
Windows seem like the obvious answer, but they rarely deliver enough light for steady salad green growth. Even a south-facing window loses intensity in winter, and most apartment windows face east or north. Your greens will stretch toward the glass, grow pale and leggy, and taste bitter. It’s frustrating to watch.
Good light means your plants get bright, consistent energy for at least twelve hours a day. That’s more than most windows provide year-round, which is why a simple grow light changes everything. You’re not trying to mimic the sun perfectly. You just need enough brightness to keep leaves compact, green, and sweet.
The easiest setup is a shelving unit with a light bar clipped or hung above each shelf. You can grow multiple trays this way without taking up floor space. If you only want one tray, a clamp light with an LED grow bulb works well on a desk or countertop. Small countertop units with built-in lights are tidy and移動able, though they limit how much you can grow at once.
When you’re shopping, look for full-spectrum LED lights. They use less electricity and stay cool enough that you won’t worry about fire or wilting. The light should cover your whole tray evenly, so check the coverage area before buying. A built-in timer is worth the extra few dollars because it removes the daily on-off task from your routine.
Hang or position the light about six to twelve inches above your seedlings. If plants stretch tall and thin, lower it. If leaves look scorched or crispy, raise it slightly. Run the light for twelve to sixteen hours each day, then let your greens rest in darkness. That rhythm keeps growth steady and flavor mild.
Use containers and a growing medium that stay clean and predictable
You don’t need fancy planters to grow apartment salad greens. Shallow trays work beautifully because most leafy greens have small root systems. Even recycled takeout containers or yogurt tubs can do the job if you poke a few drainage holes in the bottom. Just make sure water can escape, or your roots will sit in a swamp and rot.
Drainage matters even more indoors than outside. There’s no sun to dry things out and no soil creatures to aerate the mix. Without drainage, you get standing water, which invites mold and those tiny annoying flies called fungus gnats. A simple saucer or tray under each container catches the drips and keeps your furniture safe.
For the growing medium, keep it simple. Regular potting mix works well for most greens and stays light enough for apartment hauling. Seed-starting mix is even finer and cleaner if you’re growing microgreens or small seedlings. Some people like coco coir mats because they’re tidy and you just water them to expand. All three options are easy to find and won’t turn your kitchen into a dirt zone.
To avoid soggy soil and pests, let the top layer dry out a bit between waterings. You don’t want bone-dry dirt, but a slightly drier surface discourages fungus gnats from laying eggs. Bottom watering helps too. Just pour water into the saucer and let the soil soak it up from below. The surface stays drier, and your plants still get what they need.
These small habits make a big difference. Clean containers, good drainage, and a predictable watering rhythm mean less mess, fewer surprises, and greens that actually grow instead of getting weird and slimy.
Plant for how you want to harvest, not like you’re starting a backyard garden
Indoor salad greens don’t need the same spacing rules as outdoor gardens. You’re not trying to grow huge heads of lettuce. You want tender leaves you can snip quickly and often.
The easiest approach is dense sowing. Sprinkle seeds fairly close together in a shallow container, then cover them with just enough soil that you can barely see them. Think of it like adding a light dusting of powdered sugar on a cake. This works beautifully for microgreens and baby lettuce you plan to harvest all at once when the leaves are small and sweet.
For microgreens, you could set up one small tray each week. Harvest the whole thing in ten to fourteen days, then start another. It’s like a tiny conveyor belt of fresh greens.
If you want something that lasts longer, try the cut-and-come-again method instead. Space your seeds about an inch apart and cover them a bit deeper, maybe a quarter inch down. As the plants grow, you snip off the outer leaves with scissors and let the center keep growing. Two small pots planted this way can give you handfuls of salad for weeks.
You might need to thin seedlings if things get too crowded and the leaves start looking pale or stretched. Just snip or pull out some of the smaller plants to give the others room. But with microgreens and densely sown baby greens, skip thinning entirely. You’re eating them before crowding becomes a problem.
The key is matching your planting style to how fast you want to eat. Quick harvests mean tight spacing. Longer harvests mean a little breathing room.
Keep watering and feeding simple so growth stays steady
Most people kill their apartment salad greens with kindness. They water too often, thinking more is better. But indoor containers don’t dry out nearly as fast as outdoor gardens do. No wind, no blazing sun, no rain to flush things through. That means roots can sit in soggy soil for days, which leads to rot and sad, yellowing leaves.
The simplest way to know when to water is to lift the container. If it feels light, water it. If it still has weight, wait another day. You can also poke your finger about an inch into the soil. If it feels dry down there, it’s time. Droopy leaves are another sign, but try not to let it get that far too often.
When you do water, go slow and gentle. You can water from the top using a narrow-spouted watering can, aiming for the soil rather than the leaves. Or try bottom watering by setting your container in a shallow tray of water for ten or fifteen minutes, letting the roots soak up what they need. Either way, make sure excess water can drain out. Greens hate wet feet.
As for feeding, it depends on what you’re growing in. If you’re using fresh potting soil, it usually has enough nutrients to get you through your first harvest or two. After that, or if you’re doing continuous harvests from the same plants, a light feeding every few weeks helps keep growth steady. Use a diluted liquid fertilizer at half the recommended strength. It’s much easier to add more later than to fix overfed, burned plants.
Build a rotation so there’s always something ready to eat
The secret to year-round greens isn’t one giant planting session. It’s doing a little bit every week or two so something is always maturing while you’re eating what’s ready.
Think of it like laundry. You don’t wash every piece of clothing you own on the same day and then wait a month to do it again. You do smaller loads when you need them. Planting works the same way.
Start a new tray or pot every week if you have the space and eat salad most days. If you only want greens a few times a week, plant every two weeks instead. Microgreens grow fast—they’re ready in one to two weeks. Baby lettuce and arugula take three to four weeks. Varieties you can cut and regrow, like loose-leaf lettuce, give you multiple harvests from the same plant over a month or more.
If you only have countertop space for one or two containers, keep it simple. Plant microgreens in one container every ten days. By the time you finish eating the first batch, the second is ready, and you’ve already started the third.
With a shelf or small rack, you can run two speeds at once. Keep microgreens on a quick rotation for steady harvests, and grow a few pots of baby greens on a slower schedule for variety. That way you’re never waiting around with nothing to eat.
You’ll figure out your rhythm after a few cycles. Eating more salad than expected? Start trays more often. Greens piling up? Stretch the gap between plantings. There’s no perfect formula because your appetite and your space are yours alone.
Harvest in a way that keeps plants producing
The secret to getting more meals from each container is simple: take leaves, not the whole plant. When you harvest gently and strategically, most salad greens will grow back at least two or three times before they wear out.
For loose-leaf varieties like lettuce, arugula, and spinach, use clean scissors to snip the outer leaves about an inch above the soil line. Leave the center of the plant intact. This lets the plant keep growing from its core while you enjoy what’s already mature. You can do this every few days once the leaves are big enough to bother with.
This method is often called “cut-and-come-again,” and it works beautifully for apartment salad greens. Within a week or so, you’ll see fresh baby leaves emerging from the center. That’s healthy regrowth, and it means you’re doing it right.
If you’re growing microgreens or densely planted baby greens, the approach is different. Wait until they reach the height you want, then cut the whole tray about half an inch above the soil. Some varieties will regrow for a second, smaller harvest. Others won’t, and that’s normal. Just compost the roots and soil, rinse your container, and start fresh.
Before you eat anything, give your greens a quick rinse under cool water. Even though they’re grown indoors, a rinse removes any dust or stray potting mix. Wipe down your scissors between uses to keep things clean.
Eventually, even cut-and-come-again plants slow down. When the leaves start looking pale, stunted, or take longer than usual to regrow, it’s time to pull that container and replant. You’ll get a feel for the rhythm after your first couple of cycles.
Handle the common apartment issues without making it a big project
Growing apartment salad greens isn’t hard, but a few predictable problems pop up for almost everyone. The good news? They’re all fixable without turning your living room into a science lab.
If your greens look tall and floppy instead of compact and sturdy, they’re stretching toward light they’re not getting enough of. This is called legginess. Move your grow light closer or add more hours to your timer. Most greens are happy with the light about six to eight inches above them.
Slow growth usually means the same thing—not enough light—or your apartment is just too cold. Greens do best around 65 to 70 degrees. If your place runs chilly, try moving them away from drafty windows or closer to the kitchen where it’s warmer.
White fuzz on microgreens is mold, and it shows up when there’s too much moisture and not enough air movement. Water less often, and consider putting a small fan nearby on low speed. You don’t need a fancy setup. Even a desk fan pointed in the general direction helps.
Fungus gnats are tiny flies that hover around your trays. They love wet soil. Let the top of your soil dry out between waterings, and grab some yellow sticky traps from any hardware store. They work surprisingly well and you just toss them when they’re covered.
Clutter is the silent killer of indoor gardening. Use trays to catch drips, keep everything on one shelf or cart, and plug your light into a timer so you don’t have to think about it. The less scattered your setup feels, the longer you’ll keep doing it.