If you’re an apartment gardener staring at last season’s tired-looking potting soil, you might be wondering if it’s destined for the trash. The good news? That soil probably has plenty of life left in it. Reusing potting soil isn’t just possible—it’s often the smartest move for anyone growing plants in a small space.
Tossing old soil creates waste and costs you money every spring. But more importantly, it’s usually unnecessary. Most potting soil can be refreshed and reused for years with just a little care and attention.
The trick is knowing what to look for and how to fix common problems without making a mess in your apartment. You don’t need a backyard compost pile or fancy equipment. A mixing tub, a few basic amendments, and maybe twenty minutes of your time can transform exhausted soil into a thriving home for your next round of tomatoes, herbs, or flowers.
This guide will walk you through the entire process step by step. You’ll learn how to check if your old soil is worth saving, how to clean and refresh it without dirt flying everywhere, and what simple ingredients can bring it back to life. Whether you’re working on a balcony, in a kitchen corner, or anywhere in between, you can make apartment soil recycling work for you.
Let’s turn that bin of questionable-looking dirt into something your plants will actually love.
Decide if the old soil is worth keeping
Before you invest time refreshing your old potting soil, take a moment to honestly assess what you’re working with. Not all used soil deserves a second life, especially when you’re dealing with limited apartment space and can’t afford to babysit problem pots.
Start with the smell test. Scoop up a handful and give it a sniff. Healthy soil smells earthy, maybe a bit musty, but not offensive. If it smells sour, rotten, or like something died in there, that’s a clear sign to skip reusing it. That odor usually means harmful bacteria have taken over.
Next, look for visible trouble signs. A little surface mold after sitting dormant is normal and harmless. But if the entire pot is covered in fuzzy growth, or if you had fungus gnats that never went away no matter what you tried, that soil is carrying problems you don’t want to spread to fresh plants. The same goes if your previous plant died from root rot or spent months looking sickly for no clear reason.
Check the texture too. Dig your fingers through it. Soil that’s completely matted with old roots, or so compacted it won’t break apart even when you work it with your hands, has lost its structure. It won’t drain properly or give new roots room to grow.
When in doubt, remember this simple rule for apartment gardeners: if you can’t confidently quarantine a questionable pot away from your other plants for a few weeks, it’s safer to start fresh. In a small space, one bad pot can create problems that spread quickly to everything else on your windowsill or balcony.
Clean up the soil without turning your home into a dust zone
The biggest challenge with prepping used soil indoors is keeping the mess contained. Before you start picking through anything, find a workspace that keeps dirt from spreading across your whole apartment. A large plastic storage tote works beautifully. So does an old shower curtain spread across your balcony or bathroom floor. Some people work right in their bathtub or shower stall, which makes cleanup incredibly easy.
If your soil is waterlogged or muddy from its last watering, let it dry out for a day or two first. Damp soil is heavy and harder to work with. But don’t let it turn into desert dust either. Bone-dry soil creates clouds of fine particles that get everywhere. If it’s too dry, give it a very light mist with a spray bottle before you start handling it.
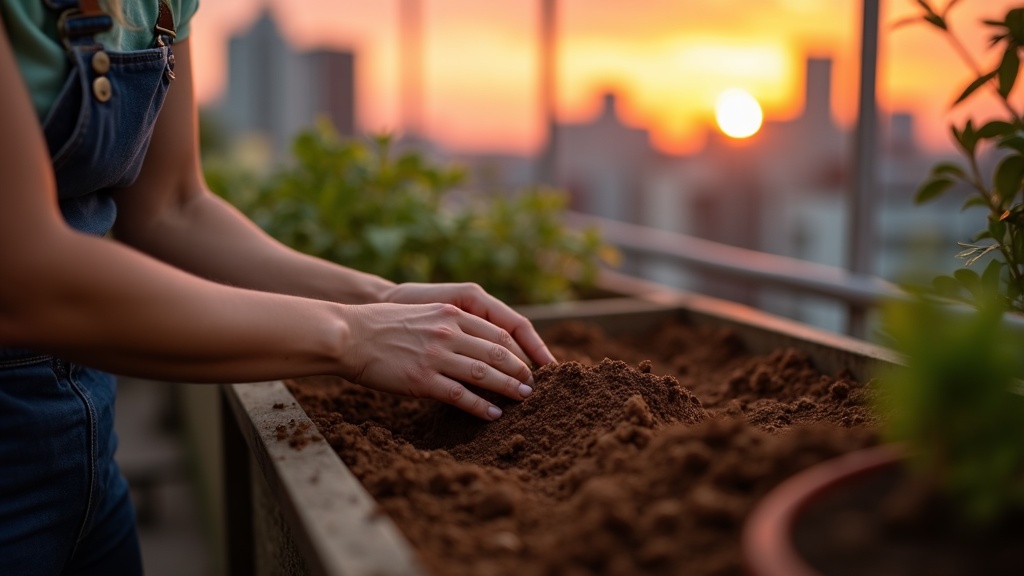
Once your soil is just slightly moist, dump it into your containment area and start breaking up the big clumps with your hands. This is weirdly satisfying. As you crumble the soil, you’ll spot old roots, dead stems, and random debris. Pull those out and toss them. Keep an eye out for things that don’t break down easily like wood chips, thick bark pieces, or those weird white foam pellets from potting mixes.
If a section of soil is basically just a tangle of roots with barely any dirt left, set that aside. It’s not worth salvaging. You want soil that still looks and feels like soil, not a root mat. Work in small batches so you’re not overwhelmed, and keep your movements gentle. Aggressive shaking and sifting sends dust flying everywhere, and your lungs and furniture won’t thank you for it.
Refresh what the soil has lost: nutrients and fluffiness
After a season or two, potting soil gets tired. Plants pull nutrients out of it as they grow, and what’s left behind is basically a worn-out sponge. The texture changes too. Soil that once felt light and fluffy gets packed down from watering, root growth, and time. When it’s compacted like that, it holds water differently—sometimes too much, sometimes not enough—and roots struggle to breathe.
The good news is you don’t need to toss it. You just need to wake it up again.
Start by mixing in some fresh potting soil. Even adding twenty or thirty percent new mix helps reset the texture and brings back that airy quality roots love. Think of it like adding fresh coffee grounds to yesterday’s brew—it livens things up without starting completely from scratch.
For nutrients, a handful of compost or worm castings does wonders. These add gentle, slow-release nutrition without overwhelming your plants. If you don’t have access to compost, that’s fine. You can skip it for now and rely on regular fertilizing once your plants are growing again.
If your old soil feels heavy or clay-like, mix in something light and gritty. Perlite is the classic choice—those little white pebbles you see in potting mixes. Pumice works too. These materials create air pockets so water drains properly and roots don’t drown. You don’t need much, just enough to keep things from turning into mud.
Most indoor plants appreciate soil that drains well but still holds a bit of moisture. You’re aiming for something that feels light in your hands, not dense or sticky. And remember, you’re working indoors, so keep your mixes modest. Nobody wants a thirty-pound pot of waterlogged soil sitting on their living room floor.
Handle pests and smells in an apartment-safe way
The biggest worry about reusing potting soil indoors is bringing unwanted guests into your home. Fungus gnats are the most common culprit. These tiny flying bugs love damp soil and decaying organic matter, and they can hitch a ride on last season’s dirt.
The good news is that prevention is easier than you think. After you empty your containers in fall or spring, spread the soil out on a tarp or in a shallow bin and let it dry out completely. Really dry, not just surface dry. This kills gnat larvae and discourages mold growth. It might take a week or two depending on your climate and ventilation.
Once the soil is bone dry, store it in a sealed container or heavy-duty bag. A plastic storage bin with a lid works perfectly. Keep it in a cool, dry spot like a closet or under a bed. Moisture is the enemy here. If your soil stays damp during storage, you’re inviting problems back.
If you had fungus gnats last season, add a thin layer of sand or fine gravel on top of your soil when you replant. This creates a barrier that makes it harder for adult gnats to lay eggs in the soil. It’s simple and surprisingly effective.
Some people talk about sterilizing soil by heating it, but that’s messy and smells terrible in an apartment. It’s also usually overkill. If your soil was truly problem-free or just had minor gnat issues, drying and storing it properly is enough.
One last tip: if soil stayed waterlogged all season or developed a swampy smell, don’t reuse it indoors. Toss it in a yard waste bin or use it for outdoor plants only. Some battles aren’t worth fighting in a small space.
Store and reuse the soil so it stays usable
Once you’ve refreshed your soil, you need somewhere to keep it until the next planting. In an apartment, that means being smart about containers and placement. Sealable plastic bins work great because they keep moisture and pests out. You can also use heavy-duty plastic bags, but double-bag them to avoid spills. Whatever you choose, make sure it closes completely.
Label your containers with what grew in that soil before. Write something like “tomato soil” or “basil pot” on a piece of tape. This helps you decide later whether to use it straight or mix it with fresh. Some plants are heavy feeders and drain more nutrients than others.
Keep your stored soil dry. Damp soil in a closed container is an invitation for fungus gnats and mold, which are miserable to deal with indoors. If the soil feels moist when you store it, leave the lid cracked for a day or two first, then seal it up.
Where you put it matters too. A balcony is ideal if you have one, since leaks and spills are less catastrophic outdoors. Inside, try a laundry area or closet floor with a plastic tray underneath for extra protection. Avoid carpeted areas or anywhere a spill would be a disaster.
When it’s time to plant again, use your stored soil as-is for tough, forgiving plants like pothos or spider plants. For seed starting or fussier plants, mix it half and half with fresh potting mix. And here’s a tip that matters more than you’d think: don’t overfill your pots. Leave an inch or two of space at the top so water doesn’t immediately overflow onto your windowsill or floor.