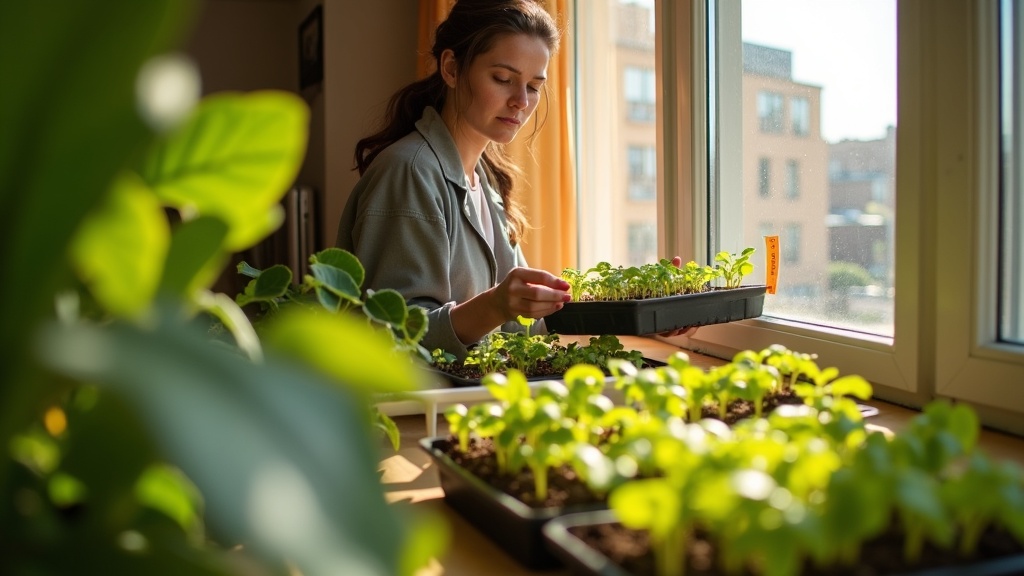
You’ve finally done it. You bought the seed trays, filled them with soil, planted your tomatoes or basil or whatever you’re dreaming about for summer. Everything looks perfect for about a week. Then one morning you notice it: a thin white fuzz creeping across the soil surface. Maybe it’s on the seed itself. Your heart sinks a little. Is everything ruined?
Here’s the thing nobody tells you when you’re starting seeds indoors for the first time: mold happens to almost everyone. It’s not a sign you’re doing something horribly wrong. It’s just what happens when you create a warm, moist little environment in a tray and set it on your kitchen counter or bedroom windowsill.
This is especially true if you live in a small apartment. You don’t have a basement or garage with good airflow. Your space might already feel a bit humid from cooking, showering, and just living. Add a tray of damp soil under a plastic dome, and you’ve basically built a tiny mold resort.
The good news? Mold in seed starting trays is almost always preventable once you understand what’s causing it. It usually comes down to three things: too much moisture, not enough air movement, and sometimes the type of soil you’re using. None of these are complicated to fix. You don’t need fancy equipment or a greenhouse. You just need to tweak a few small habits, and your seedlings will have a much better shot at growing up healthy and fuzz-free.
What seed tray mold looks like and why it shows up so fast indoors
Mold doesn’t always announce itself dramatically. Most often, you’ll spot soft white fuzz on the soil surface, especially in the corners of your tray or around the edges where the plastic dome meets the base. Sometimes it looks like a thin green or grayish film spread across the top of your seed starting mix. You might also see fuzzy white or gray growth clinging to seed husks that haven’t fully dropped off your new seedlings.
These patches tend to show up first in spots with the least air movement. That means the back corners of trays, anywhere pressed against a wall or window, or directly under a humidity dome where moisture gets trapped. If you’ve clustered several trays together on a windowsill or shelf, mold often starts where the trays touch.
Indoor spaces create a perfect storm for mold growth, and it has nothing to do with you being careless. Seed starting mix stays consistently damp because seeds need moisture to sprout. Add in the warmth from a heat mat or a sunny window, plus the humidity from watering and covered trays, and mold spores find everything they need.
Apartments make this even trickier. You probably keep windows closed much of the year because of weather, noise, or air conditioning. That means less fresh air moving through your space. Your seed trays sit on counters, shelves, or sills where air barely circulates. The combination of still air, steady warmth, and constant moisture is exactly what mold loves. It can go from invisible to fuzzy white patches in just a day or two, which is why it feels like it appears out of nowhere.
Keep the surface from staying wet all day
The biggest mold trigger is soil that stays soaking wet all the time. You want your seed starting mix to be moist, not wet. There’s a real difference, and it’s easier to spot than you might think.
Wet soil looks dark and shiny, almost glossy under the light. If you touch it, water might bead up on your finger. Sometimes you’ll even see a greenish, algae-like film forming on top. That’s too wet. Moist soil looks darker than dry mix, but it’s not shining at you. It holds together slightly when you touch it, but it doesn’t leave your fingers dripping.
The fix is mostly about how you water. Bottom watering works well once your seedlings have roots reaching down. Just pour water into the tray underneath your cells or pots, let the soil soak it up for twenty minutes or so, then dump out whatever’s left. This keeps the surface drier while the roots stay hydrated.
Let the top layer dry out slightly between waterings. It doesn’t need to be bone dry, just not constantly soggy. If you’ve been misting your seedlings every day, that’s likely part of the problem. Misting keeps the surface wet for hours, which is exactly what mold spores love.
Clear humidity domes are great for germination, but take them off once most seeds have sprouted. Leaving them on too long traps moisture and turns your tray into a mold incubator.
A small fan pointed near your trays helps a lot. It doesn’t need to blow directly on the seedlings, just nearby. Moving air helps the surface dry between waterings and makes it much harder for mold to get comfortable.
Create gentle airflow even when you can’t open windows
Mold loves still air. When air doesn’t move, moisture just sits there on your soil surface and around your seedlings, creating perfect conditions for fuzzy white or green growth to take over. Even a tiny bit of airflow makes a huge difference because it gently dries the top layer of soil and stops humidity from pooling in one spot.
The good news is you don’t need much air movement at all. A small desk fan on its lowest setting, pointed in the general direction of your trays but not blasting them directly, works beautifully. You want the seedlings to barely sway, not bend over like they’re in a storm. This gentle breeze mimics what happens outdoors and keeps everything just dry enough to discourage mold without stressing your plants.
If you don’t have a fan or prefer not to run one constantly, you can still improve airflow with smart placement. Pull your seed trays a few inches away from walls and corners where air tends to go stagnant. Avoid packing trays tightly together on a shelf. Give them breathing room so air can circulate between them.
Those clear plastic domes that come with seed trays are helpful for keeping warmth and moisture in at first, but they also trap humid air. Crack the dome open slightly or take it off for an hour or two each day once seeds have sprouted. If you’re using shelving, an open wire rack works much better than a closed cabinet for keeping air moving naturally around your plants.
Start clean so mold has fewer places to take hold
Mold doesn’t just appear out of nowhere. It grows from tiny spores that land on damp surfaces, and those spores love to hang out on dirty trays and tools from last year’s seed starting adventure. If you reuse cell packs or humidity domes without cleaning them first, you’re basically rolling out the welcome mat for another round of fuzzy white or green growth.
Before you fill anything with soil, give your trays and domes a good wash with warm soapy water. Scrub off any crusty residue or clinging bits of old soil. Then go a step further and sanitize them. You don’t need fancy chemicals. A quick soak in a diluted bleach solution or even white vinegar works well. Rinse everything thoroughly afterward so you’re not introducing harsh stuff to your seedlings.
The same goes for your tools. Dirty scoops, labels, or watering cans can carry spores from one season to the next. A quick rinse isn’t always enough if there’s organic matter stuck in the crevices. Take a minute to wipe things down before you start.
Avoid reusing old potting mix that’s been sitting around open or damp, especially if it smells funky or looks clumpy. Fresh mix from a sealed bag is your safest bet. And once you’re set up, don’t let spilled soil sit wet on your heat mat or shelf. Those damp piles are mold magnets. Wipe up spills as you go, and keep your drip trays emptied and dry between waterings.
These small habits won’t take much time, but they make a huge difference in keeping mold from getting a foothold before your seeds even sprout.
Choose seed tray setups that stay less mold-friendly
Not all seed trays are equal when it comes to mold. Some setups practically invite it in, while others make it harder for mold to get comfortable. The good news is you don’t need fancy equipment to tip the odds in your favor.
Drainage holes are your first line of defense. They let excess water escape instead of sitting around the roots. If you’re reusing containers without holes, grab a drill or a hot nail and poke a few in the bottom. Standing water at the base of a tray is like putting out a welcome mat for mold.
Some trays come with built-in water reservoirs at the bottom. They sound convenient, but they can backfire if you fill them too high. The soil stays wetter for longer, especially at the surface where mold loves to grow. If you use these trays, keep the water level low and let the soil dry out a bit between waterings.
How you fill your cells matters too. Don’t pack the seed-starting mix down hard. Tight soil holds more moisture and gets less airflow. Fill cells loosely and avoid overfilling them to the brim. A little space at the top helps air circulate.
Fine seed-starting mix can form a damp crust on top that stays wet for days. Some growers sprinkle a thin layer of coarser material on the surface after planting. It dries faster and breaks up that moist film where mold spores like to settle.
If you’re using a heat mat, keep a closer eye on things. The warmth speeds up evaporation, but it also creates extra humidity under a dome. You’ll need to vent more often or the moisture will just condense and drip back down onto your seedlings.
Use humidity covers without turning them into mold incubators
Those clear plastic domes that come with seed trays are genuinely helpful during germination. Seeds sprout faster when they stay warm and moist, and a dome traps that humidity beautifully. The problem starts when you treat the dome like a lid you can forget about.
Here’s what goes wrong. Moisture evaporates from the soil, hits the cool plastic, and condenses into droplets. Those droplets drip back down onto the soil surface. Now you’ve got a constant cycle of wetness with very little air movement. That’s exactly what mold loves.
The fix is simple but needs to happen every day. Lift the dome once daily to let fresh air circulate, even if it’s just for a minute or two. If you see heavy condensation building up inside, wipe it off with a clean cloth. Many domes have small vents on top. Use them. If yours doesn’t have vents, prop one edge up slightly with a folded piece of cardboard.
Once most of your seeds have sprouted and you see those first green leaves poking through, take the dome off completely. Seedlings don’t need the same intense humidity that seeds do, and leaving the dome on past this point is asking for trouble.
One apartment-specific thing to watch: if your seed tray sits in the kitchen or bathroom, humidity spikes from cooking or showering can make the dome situation even wetter. A bedroom or living room shelf usually stays more stable. You want the dome doing its job during germination, not turning your tray into a miniature rainforest that never dries out.
What to do when you already see mold on the tray
First things first: don’t panic. Seeing a patch of white or grayish fuzz on your seed tray doesn’t mean your seedlings are doomed. It just means conditions got a little too cozy for mold, and now you need to shift gears quickly.
Your immediate job is to dry things out and get air moving. Stop misting or watering from above right away. If you’ve been keeping a humidity dome or plastic cover on the tray, take it off completely. Move the tray to a spot with better airflow, even if that means setting up a small fan nearby on the lowest setting. You’re not trying to blast the seedlings, just keep air circulating gently around them.
If you see obvious fuzzy patches on the soil surface, you can carefully scrape them off with a spoon or fork. Be gentle so you don’t disturb any seedling roots that might be near the surface. Throw that moldy soil away in a sealed bag, not back into your compost or onto other plants.
Check the drainage holes at the bottom of your tray. If water is sitting there with nowhere to go, that’s part of the problem. Make sure the tray can drain freely and isn’t sitting in a puddle.
Wipe down any nearby surfaces, windowsills, or shelves where the tray has been sitting. Mold spores spread easily, and you don’t want them hopping back onto your freshly cleaned setup.
Here’s the reassuring part: a little surface mold won’t automatically kill healthy seedlings. But if the soil stays soaking wet day after day, the mold will keep coming back and could eventually smother or rot delicate roots. The key is breaking the wetness cycle now.
Balance mold prevention with what seedlings actually need
When you first spot mold, it’s tempting to swing hard in the opposite direction. You might yank off the humidity dome, crank up a fan, or stop watering altogether. But seeds and seedlings actually need certain conditions to survive, and going too far can stop them cold.
Seeds need consistent moisture to germinate. If the soil surface dries out completely during those first critical days, the tiny root that’s just starting to emerge can shrivel before it even gets going. You’ll end up with seeds that never sprout, or a crusty soil surface that traps them underneath.
Once seedlings emerge, they need something different. The soil surface should dry out slightly between waterings, while the deeper soil stays damp. This gives roots access to both water and oxygen. Roots actually breathe, and they can’t do that in waterlogged soil.
The most common overcorrection is blasting seedlings with too much air movement too soon. A gentle fan is helpful. A strong one pointed right at tiny sprouts will dry them out faster than their fragile roots can replace the moisture. You’ll see them wilt or tip over even though the soil feels damp.
Good conditions look like this: the soil surface dries enough that you can see it change color between waterings. Less fog appears on your dome or cover. Seedlings stand upright and add new leaves steadily. You’re aiming for that middle ground where the air moves enough to discourage mold, but the soil stays moist enough to support growth.
If seedlings start looking stressed, pale, or floppy, ease back. If mold keeps returning, increase airflow gradually and check that you’re not overwatering.