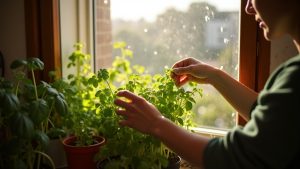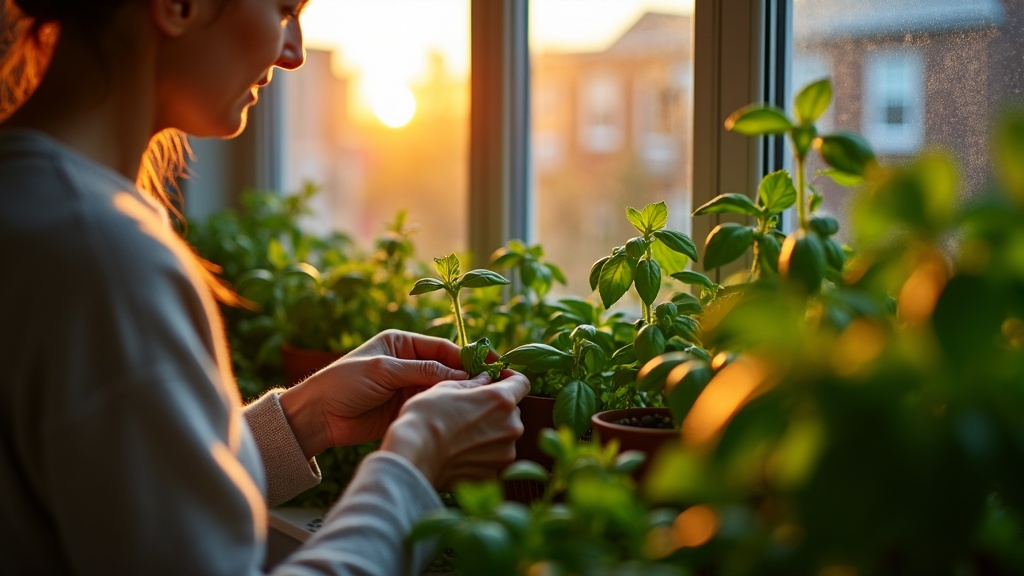
That little pot of basil on your windowsill holds so much promise. Fresh pesto, fragrant caprese salads, a handful of leaves tossed into summer pasta. But somewhere between snipping off a few sprigs and actually using them, things often go wrong.
Maybe you cut too much at once and watched half of it turn black and slimy in the fridge within two days. Or you trimmed your plant the wrong way and it never quite bounced back, leaving you with sad, spindly stems instead of bushy growth. Perhaps you stuck those beautiful leaves in a plastic bag where they sweated themselves into mush, or left them on the counter where they wilted into paper-thin shadows of themselves.
Here’s the thing: windowsill basil harvesting isn’t just about scissors and timing. The way you cut determines whether your plant keeps producing or gives up. And how you store those leaves afterward makes the difference between bright, aromatic basil that lasts for days and a disappointing pile of brown regret.
Growing basil indoors means working with less light and smaller plants than outdoor gardeners enjoy. Every cut matters more. Every leaf counts. But with a few simple techniques, you can keep your windowsill plant productive for months while making sure the basil you harvest actually makes it to your plate in peak condition.
Let’s talk about how to do this right, so your basil plant thrives and your kitchen always has fresh herbs worth using.
Pick basil at the right time for better flavor and regrowth
Your windowsill basil plant needs to reach a certain size before you start harvesting. Wait until it has at least six to eight sets of leaves and stands about six inches tall. If you harvest too early, the plant won’t have enough energy stored up to grow back strong.
The leaves themselves will tell you when they’re ready. Look for leaves that are bright green, fully opened, and about two to three inches long. They should feel slightly thick and smell wonderfully fragrant when you brush them with your finger. Thin, pale leaves usually taste weaker and more bitter.
Morning is the best time to cut your basil, right after you’ve watered it the night before. The leaves are plump with moisture and packed with the oils that give basil its flavor. If mornings don’t work for you, anytime before the plant sits in hot afternoon sun is fine.
For grabbing a few leaves to top your pasta, you can pinch them off whenever the plant looks healthy. Just take from different spots so you don’t create bare patches. But if you’re doing a bigger harvest to make pesto or dry for later, wait until just before the plant tries to flower. You’ll notice small buds forming at the top of stems. That’s your signal to trim back about a third of the plant.
Indoor plants bounce back slower than outdoor ones because they get less light. After a light picking, expect new growth in about a week. After a heavier trim, give it closer to ten days. The plant will reward your patience with bushier, more productive growth next time.
Cut basil in a way that makes it grow bushier
The secret to getting more basil from a small plant is cutting it at the right spot. Instead of plucking off individual leaves from the bottom or sides, you want to cut the stem just above a node. A node is simply the spot on the stem where a pair of leaves grows out. It looks like a little joint or bump where the leaves attach.
When you cut just above a node, something wonderful happens. The plant responds by growing two new stems from that exact spot instead of just one. Over time, this makes your basil bushier and fuller instead of tall and spindly. You end up with way more leaves to harvest.
Look closely at your basil stem and find a set of leaves. Use clean scissors or pinch with your fingernails to cut about a quarter inch above where those leaves meet the stem. Don’t cut too far down or leave a long bare stem sticking up above the node. That bare bit just dies back and wastes the plant’s energy.
The biggest mistake people make is just grabbing the biggest, prettiest leaves wherever they see them. This slowly strips the plant bare from the bottom up and doesn’t encourage new growth where you want it.
For a young windowsill plant with just a few sets of leaves, cut back to the second or third node from the bottom. This gives you a small harvest but sets up the plant to branch out. For a more established plant that’s been growing a while, you can safely take the top third or even half of each stem. The plant will bounce back fast and give you double the stems next time.
Handle basil gently right after harvesting
The first few minutes after you cut basil are surprisingly important. Those delicate leaves bruise easily, and bruised basil turns black within hours. Think of it like a ripe peach. One hard squeeze and you’ve got a brown spot that spreads.
Keep the stems intact when you cut. Don’t pinch or crush the leaves as you carry them to your kitchen counter. If you harvested a bunch, lay them gently in a bowl or on a plate rather than stuffing them into your fist. The less you handle the leaves themselves, the better.
Here’s something that catches people off guard: you shouldn’t wash basil right away unless you actually need to. Water sitting on those tender leaves can cause dark spots, especially if you don’t dry them completely. If your windowsill basil looks clean, skip the rinse until you’re ready to use it.
When you do need to wash dusty leaves, fill a bowl with cool water and swish the basil around gently. Lift it out and let the water drip off, then lay the leaves on a clean kitchen towel. Pat them dry softly, or let them air dry for ten minutes. They should feel dry to the touch before you store them.
If your basil looks limp right after cutting, don’t panic. Windowsills get warm, especially in afternoon sun, and basil loses moisture fast in the heat. Put the stems in a glass of cool water like you would fresh flowers. Most leaves perk up within half an hour. Once they look lively again, you can move on to proper storage.
Store fresh basil for the next few days without it turning black
Fresh basil can turn sad and black within hours if you just toss it in the fridge. The good news is that two simple methods work well for most kitchens, and you can switch between them depending on your situation.
The easiest approach treats basil like cut flowers. Trim the bottom of the stems and stand them in a small glass with about an inch of water. Drape a loose plastic bag over the top or leave it uncovered if your kitchen isn’t too dry. Set the glass on your counter away from direct sunlight, ideally somewhere cool but not cold. This method works beautifully when your apartment stays comfortable, and the basil usually lasts three to five days. Change the water if it starts looking cloudy.
When your kitchen gets hot or you need to buy more time, the fridge becomes your friend. The trick is keeping the leaves dry. Gently wrap your basil in a barely damp paper towel, then slide it into a plastic bag with some air inside. Don’t seal it tight. Tuck it into one of the warmer spots in your fridge, like the door or the top shelf. This method gives you about a week if done right.
Watch for warning signs with either approach. If leaves turn black or slimy, or stems go limp and mushy, something went wrong. Too much moisture causes slime. Too little causes wilting. A too-cold fridge causes blackening. Small tweaks help: less water in the glass, a drier towel, a warmer fridge spot, or more air circulation. Neither method is perfect for everyone, so try both and see which fits your space and schedule better.
Keep basil longer by freezing or drying in an apartment-friendly way
When your windowsill basil goes into overdrive, freezing is your best friend. The simplest method is freezing whole leaves. Lay them flat on a plate or small tray, freeze them until solid, then transfer to a container or freezer bag. This keeps them from clumping into one giant mass you have to chip apart later.
Another smart option is chopping basil and freezing it in small portions with a bit of water or olive oil. Ice cube trays work perfectly for this. Once frozen, pop the cubes into a bag so they don’t take up tray space forever. Water-based cubes are great for soups and sauces where extra liquid won’t matter. Oil-based ones work better for sautéing or finishing pasta dishes.
Frozen basil won’t look fresh and perky when it thaws. The leaves turn dark and soft because freezing breaks down their structure. But the flavor holds up surprisingly well, especially in cooked dishes. Just toss frozen basil straight into whatever you’re making without thawing first.
Drying basil in an apartment takes a little patience but very little space. Gather a few stems into small bunches and secure them with string or a rubber band. Hang them upside down somewhere with good airflow but away from direct sunlight, which fades the color and weakens the flavor. A kitchen corner or closet with the door cracked works fine.
The basil is dry enough when the leaves crumble easily between your fingers. This usually takes about a week, depending on humidity. Dried basil tastes more concentrated and slightly different than fresh, almost earthier. It’s perfect for long-cooked dishes like stews or tomato sauces where fresh basil would lose its brightness anyway.