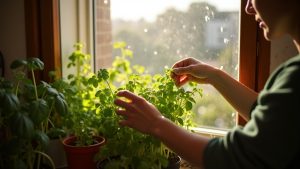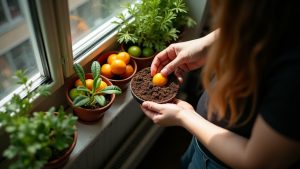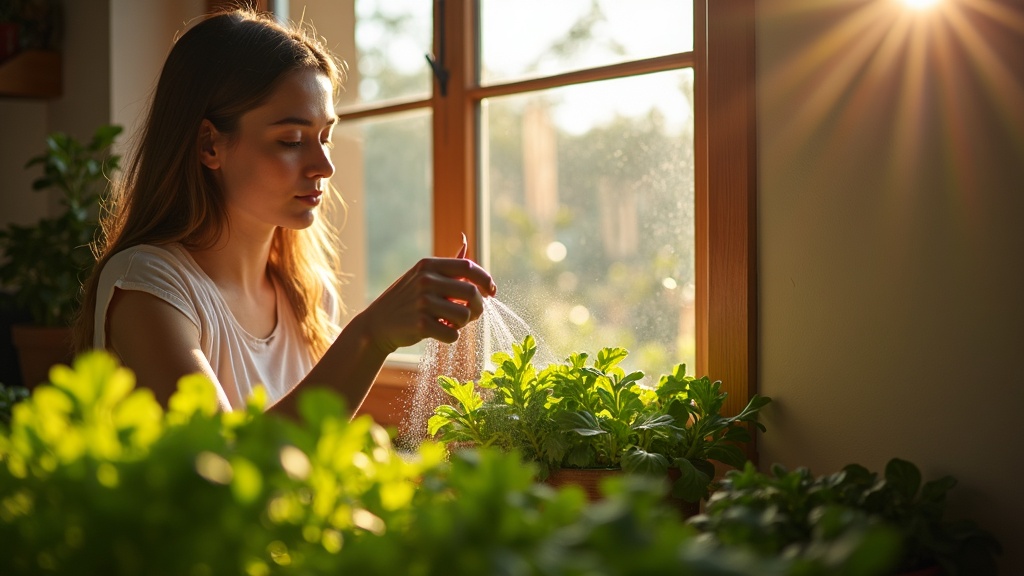
You don’t need a backyard or a balcony to enjoy fresh salad greens. A sunny windowsill and a few containers are enough to get started. Even if your apartment feels cramped or your windows don’t get perfect light, you can still grow leafy greens indoors and harvest them quickly.
The secret is choosing the right greens and setting up simple systems that don’t take up much space. Many salad varieties grow fast and don’t need deep soil or hours of direct sun. Some are ready to eat in just a few weeks.
This isn’t about creating a complicated indoor farm. It’s about finding containers you already have or can buy cheaply, filling them with a bit of soil, and watching fresh greens sprout on your kitchen counter or windowsill. You’ll be surprised how little space you actually need.
Growing your own salad greens also means you control what goes into your food. No pesticides, no plastic packaging, and no wilted leaves sitting in your fridge for too long. You simply snip what you need when you need it.
Whether you live in a small apartment or just want to try something new, windowsill gardening is one of the easiest ways to bring a bit of green into your home. The setup is simple, the containers are flexible, and the results come fast enough to keep you motivated.
Choose greens that do well indoors
Not all salad greens are created equal when it comes to windowsill life. Some plants need tons of space or hours of blazing sun to form proper heads. Others are perfectly happy in a shallow container with whatever light your window offers.
Your best bets are leaf lettuce, arugula, baby spinach, and mustard greens. These grow quickly and don’t need deep roots. They also tolerate the lower light levels you’ll find indoors much better than something like romaine or iceberg lettuce, which want to form big, dense heads.
The key is to look for what gardeners call cut-and-come-again varieties. That just means you snip off the outer leaves as they grow, and the plant keeps producing more from the center. You’re harvesting baby leaves continuously instead of waiting weeks for one full-sized plant. It’s faster, takes less space, and you get multiple meals from the same container.
Microgreens are even simpler. These are just regular greens harvested when they’re tiny, usually within two weeks of planting. You cut the whole thing at soil level and start fresh. They grow so fast that light and space barely matter, which makes them perfect for true beginners.
When you’re buying seeds, check the packet for helpful words like baby leaf, container, microgreens, or mesclun mix. These labels tell you the variety is meant for exactly what you’re doing. If the packet talks about days to maturity being under thirty days, that’s another good sign. Skip anything that mentions forming heads or needing full sun unless you have an exceptionally bright window.
Use low-cost containers that fit your sill
You don’t need fancy planters to grow salad greens indoors. The best container is often something you already have at home. Old takeout containers, plastic clamshells from store-bought greens, and shallow food trays work beautifully for microgreens and baby lettuce. They’re the right depth, they fit on narrow sills, and they cost nothing.
For microgreens, you only need an inch or two of soil. Those clear plastic containers that held spinach or berries last week are perfect. Just poke a few small drainage holes in the bottom with a pen or scissors. No holes means water sits and your seeds can rot.
If you want to grow a couple of full-size lettuce heads, grab a small pot or recycled yogurt container that’s about four to six inches deep. One plant per container keeps things simple. For wider windowsills, a basic plastic window box lets you plant a whole row of greens without taking up counter space.
The catch tray matters almost as much as the container itself. You need something underneath to collect water so your windowsill doesn’t get damaged or messy. Plastic saucers from the dollar store work great. So do shallow baking trays, old plates, or even another takeout container as a drip tray. Match the size to your planter and you’re set.
If you’re growing several containers at once, a rimmed baking sheet can hold multiple small pots and catch all the runoff in one place. This makes watering easier and keeps everything tidy. The whole setup can cost less than a single bag of salad from the store, and you’ll use it again and again.
Make the most of limited sunlight
Your best window is the one that feels brightest during the day. Stand in different spots around your apartment and notice where you could comfortably read a book without turning on a light. That’s your starting point. South-facing windows usually get the most sun, but any window that stays bright for at least four to six hours will work.
Get your containers as close to the glass as you can without letting leaves actually touch it. Cold glass can damage tender greens, especially in winter. A few inches back is perfect. If trees or neighboring buildings block some of your light, don’t panic. You can still grow salad greens, just pick varieties known for tolerating shade better, like spinach, arugula, and most lettuces.
Here’s a simple trick that makes a real difference: put something white or reflective behind your plants. A sheet of white poster board works great. You can even wrap cardboard with aluminum foil, shiny side out, and prop it up behind your containers. This bounces extra light back onto your greens instead of letting it disappear into the room.
Keep your windowpane clean. Dust and grime block more light than you’d think. A quick wipe every couple of weeks helps. Also, rotate your containers every few days so all sides of the plants get equal light. Otherwise they’ll lean hard toward the window and grow lopsided.
Microgreens are your best friend if light is really limited. They grow so fast that they need less total sunlight than full-sized greens. If your windows just aren’t cutting it, a small LED grow light can fill the gap, but most people find they can grow salad greens indoors without one if they’re smart about placement.
Keep soil and sowing simple for quick harvests
The good news is you don’t need specialty soil to grow salad greens indoors. A standard potting mix from any garden center works perfectly for baby lettuce and most leafy greens. It’s light, drains well, and has enough nutrients to get your plants through their short growing cycle. Save your money and skip the fancy blends.
If you want to try microgreens, which are harvested when they’re just a few inches tall, a finer seed-starting mix can make things easier. The smaller particles let tiny seeds nestle in without falling into big gaps. But honestly, you can also sift regular potting mix through a colander if you have it on hand. Either way works fine.
When it’s time to plant, picture this: for microgreens, sprinkle seeds thickly across the surface so they’re almost touching, like seasoning a dish generously. For baby salad greens that you’ll let grow a bit larger, space them out more, about a finger’s width apart. Press the seeds down gently with your palm so they make contact with the soil. Some seed packets tell you to cover them lightly with a thin layer of soil, others don’t need it at all. Just check the back of your packet.
After sowing, use a spray bottle to mist the surface until it’s evenly damp. This settles everything without washing seeds into clumps or creating puddles. One thing to remember: shallow containers dry out faster than deep ones. If you’re using a tray that’s only an inch or two tall, plan to check the moisture every day, especially once sprouts appear. A quick finger test tells you everything you need to know.
Water in a way that prevents rot and gnats
The biggest mistake people make when growing salad greens indoors is watering too often. It feels like you’re being helpful, but wet soil all the time invites problems you don’t want.
When soil stays soggy, you might notice a sour or musty smell coming from the pot. Sometimes a greenish film of algae appears on the surface. The stems of your greens can get soft and droopy even though there’s plenty of water. That’s rot starting to happen, and it spreads fast in small containers.
On the other hand, soil that’s too dry makes leaves wilt and turn crispy at the edges. The trick is finding the middle ground. Stick your finger about an inch into the soil. If it feels dry at that depth, it’s time to water. If it’s still damp, wait another day.
When you do water, pour enough that it runs out the drainage holes at the bottom. Let it soak through completely. Then empty the catch tray after fifteen minutes so your plants aren’t sitting in a puddle. Standing water is an open invitation for fungus gnats, those tiny flying bugs that hover around damp pots.
Bottom watering keeps things even cleaner. Set your container in a shallow dish of water and let the soil soak it up from below for ten or fifteen minutes. The leaves stay dry, which helps prevent mold and keeps gnats from getting interested.
If gnats do show up, let the top half-inch of soil dry out between waterings. You can also sprinkle a thin layer of sand or dry potting mix on the surface. It dries fast and makes the soil less appealing to them. No need for sprays or traps in most cases.
Use microgreens as the fastest windowsill option
Microgreens are just regular vegetable seedlings harvested when they’re tiny, usually within one to three weeks of planting. You snip them off at the stem while they still have their first set of delicate leaves, and they pack surprising flavor into something so small. Think of them as the express lane of indoor gardening.
They’re perfect for apartments because they don’t need much space or sunshine. A shallow tray on a sunny windowsill works great, but even a spot with moderate light can get you a decent harvest. You’re not asking the plants to grow full heads of lettuce, just tender young shoots, so they don’t demand nearly as much energy from the sun.
The process is simple. Scatter seeds densely across moist soil or a growing mat, then press them down gently so they make good contact. Some gardeners soak larger seeds overnight to speed up sprouting, but it’s optional. Keep the surface moist with a spray bottle, and once the seeds sprout, make sure they get some light each day. Within a week or two, you’ll see a little forest of green.
Harvest them with kitchen scissors when they look lush and full, usually right after the first true leaves start to appear. You can toss them on sandwiches, salads, or scrambled eggs.
Radish, broccoli, and kale microgreens are especially easy and forgiving. Pea shoots are another favorite, though they need a slightly deeper tray since pea seeds are bigger. All of these grow fast, taste great, and won’t punish you if your windowsill isn’t bathed in light all day long.
Harvest in a way that keeps plants producing
The secret to getting weeks of salad from a small windowsill container is something gardeners call cut-and-come-again harvesting. It sounds fancy, but it just means you snip leaves in a way that lets the plant keep growing instead of pulling up the whole thing at once.
Start by trimming the outer leaves first. These are the bigger, older ones around the edges. Use clean scissors and cut them close to the base, but leave the center of the plant untouched. That’s where new leaves come from. For lettuce, arugula, and spinach, this method works beautifully. The plant keeps pushing out fresh growth from the middle while you enjoy what’s ready.
If you’re growing microgreens or certain fast-growing types, you can also cut the whole plant about an inch above the soil line. Look for a spot just above where you see tiny leaves starting to form. That’s the growth point, and if you leave it intact, many plants will sprout again.
Before you harvest, make sure the leaves look healthy and full. A good rule is to wait until they’re big enough that losing a few won’t stress the plant. For most greens on a sunny windowsill, you can take a small harvest every few days once they get going.
Two practical tips: always use clean scissors to avoid spreading any funky stuff between plants, and harvest when the leaves are dry. Wet leaves get messy when you cut them, and moisture left behind on the plant can invite rot. A quick snip in the morning after the dew dries works perfectly.