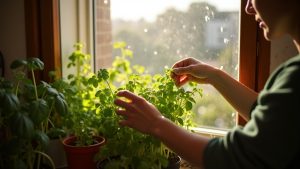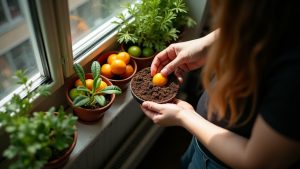
You snip a few basil leaves for dinner, toss them in the pan, and feel pretty good about your tiny apartment garden. Then you notice the rest of those stems sitting on the counter. By tomorrow morning, they’re limp. By evening, they’re slimy. You end up throwing them out, and it feels like such a waste.
This happens to almost everyone who grows herbs indoors. Your plants don’t give you giant bunches all at once like a farmer’s market haul. Instead, you get a handful of leaves here, a few sprigs there. Just enough to use fresh, but also just enough to forget about if you don’t have a plan.
The good news is that storing small amounts of herbs doesn’t require special equipment or a huge kitchen. You don’t need a dehydrator, a vacuum sealer, or even much counter space. What you need are a few simple habits that match the way apartment herb gardens actually work.
Once you know how to handle those little harvests, nothing goes to waste. You can snip what you need, store what you don’t, and actually use everything you grow. Your herbs stay fresh longer, keep their flavor, and don’t turn into that sad, forgotten pile in the back of the fridge. It’s not complicated, and it doesn’t take much time. You just need to know what works in a small space with small batches.
Start with harvest habits that make storage easier
The way you pick your herbs makes a surprising difference in how long they’ll stay fresh. Timing matters more than you’d think. Snip your herbs in the morning after any dew has dried but before the day gets hot. Midday heat pulls moisture and essential oils out of the leaves, so a harvest at noon will wilt faster than one at nine in the morning.
In a tiny apartment setup, you’re probably not cutting armfuls at once anyway. Take what you’ll actually use in the next few days, maybe a small handful or just a few stems. This keeps things manageable and means you’re always working with the freshest possible leaves.
Handle your herbs gently. Bruised leaves turn brown and slimy much faster because you’ve broken the cell walls. Think of it like an apple that gets dropped. Use your fingers or sharp scissors, not a dull blade that crushes the stems.
Right after cutting, do a quick sort. Pull off any yellowed or damaged leaves and toss them. They’ll speed up decay for everything else. If your stems look good, keep them intact rather than stripping all the leaves right away. Stems help protect the leaves and keep moisture in.
Here’s the washing question: hold off unless your herbs are visibly dusty or gritty. Moisture is the enemy of storage, so the drier they stay, the better. If you do need to rinse them, do it gently under cool water, then dry them thoroughly. Pat them with a clean kitchen towel or let them air-dry on a rack. Any water left clinging to the leaves will encourage rot within a day or two.
Keep tender herbs fresh in the fridge with minimal space
Tender herbs like basil, cilantro, parsley, mint, and dill are the drama queens of the herb world. Their leaves are soft and delicate, which means they lose moisture fast and turn to sad, wilted mush if you’re not careful. Unlike woody herbs that can hang on for weeks, these need a bit more attention right after you snip them.
The simplest method for tiny apartment fridges is the paper towel wrap. Rinse your herbs gently and shake off excess water. Roll them loosely in a slightly damp paper towel, then tuck the bundle into a container or a zip-top bag that you leave open just a crack. If the towel feels soggy after a day or two, swap it out. This keeps things humid enough without turning into a slimy science experiment.
Some herbs actually prefer standing upright like little bouquets. Parsley, cilantro, and mint do well with their stems in a small jar with about an inch of water on a fridge shelf. Drape a loose plastic bag over the top to hold in moisture without suffocating them. This setup takes up less horizontal space than you’d think, and you can see them easily instead of losing them in a drawer.
Avoid cramming herbs into crisper drawers where they get crushed, and keep them away from apples or tomatoes. Some produce gives off a gas that makes certain herbs go downhill faster. You’ll know your herbs are still good if the leaves smell fresh and bright, even if they’re a bit limp. Once they smell off or turn dark and slimy, it’s time to compost.
Handle basil differently so it doesn’t turn black
If you’ve ever put fresh basil in the fridge and found sad, blackened leaves the next day, you’re not alone. Basil is a tropical plant at heart, and it really doesn’t like the cold. Most refrigerators run around 35 to 40 degrees, which is cold enough to damage basil’s delicate leaves and turn them dark and limp.
The best way to keep basil fresh for a few days is treating it like cut flowers. Snip the stems at an angle, put them in a small glass or jar with an inch or two of water, and leave it on your counter. Drape a loose plastic bag over the top to keep the leaves from drying out, but don’t seal it tight. Just think of it as a tiny basil greenhouse on your kitchen counter.
Keep your basil bouquet away from direct sunlight and heat vents. Both will make the leaves wilt faster. Change the water every day or two, and your basil should stay green and perky for up to a week.
That said, refrigeration isn’t completely off limits. If your apartment runs really warm, or if you’ve already pulled leaves off the stems, the fridge might be your only option. In that case, make sure the leaves are completely dry first. Even a little moisture speeds up that blackening process. Wrap them gently in a dry paper towel, then tuck them into a partially open plastic bag or container. They won’t last as long as the countertop method, but you’ll get a few more days out of them without total disaster.
Dry tiny harvests without turning your home into a project
Some herbs dry beautifully and keep their flavor for months. Oregano, thyme, rosemary, sage, and marjoram all hold up well when dried. They have sturdy leaves and strong oils that don’t vanish when the moisture leaves. On the other hand, tender herbs like basil, cilantro, and parsley often taste like dusty disappointment once dried. Save those for freezing or using fresh.
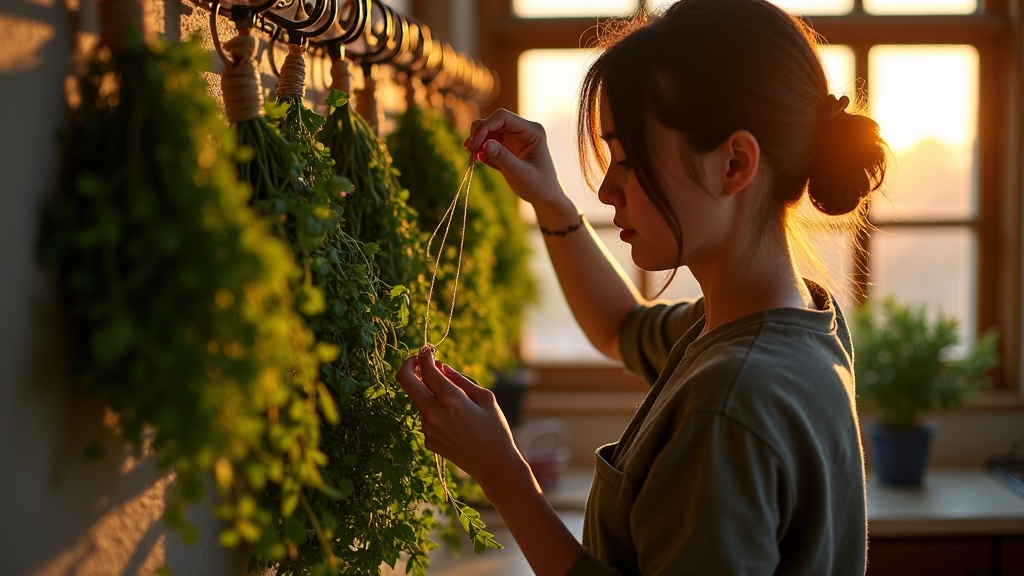
If you’ve snipped a small handful of oregano or thyme, you don’t need fancy equipment. Gather five or six stems together and tie them loosely with kitchen twine or a rubber band. Hang the bundle upside down somewhere with decent airflow, like near a window that gets a breeze or in a corner of your kitchen away from the stove. Just make sure it’s not in direct sunlight, which can fade the color and flavor.
If you’re worried about leaves dropping everywhere as they dry, try the paper bag method. Put your herb bundle inside a clean paper lunch bag with a few holes punched in the sides for ventilation. Tie the bag closed around the stems and hang it up. The bag catches any leaves that fall, and your herbs stay clean and dust-free.
You can also use your oven or air fryer on the lowest setting, usually around 180°F or lower. Spread herbs on a baking sheet and check them every ten minutes. This works fast but requires attention so they don’t cook instead of dry.
Herbs are fully dry when the leaves crumble easily between your fingers and the stems snap rather than bend. Strip the leaves off, toss the stems, and store everything in small jars with tight lids. Keep them in a drawer or cabinet away from light and heat. Label each jar so you don’t have to guess later.
Freeze herbs in small portions that actually get used
Freezing is probably the easiest way to hang onto the flavor of your herbs when you only harvest a handful at a time. It keeps most of the taste locked in without any special equipment. Just know that frozen herbs lose their crisp texture, so they’re great for cooking but won’t work as a fresh garnish on top of your finished dish.
The ice cube tray method is perfect for apartment growers because it gives you tiny, ready-to-use portions. Chop your herbs and pack them loosely into the compartments of an ice cube tray. Then cover them with water, olive oil, or broth and freeze. Once they’re solid, pop the cubes into a small freezer bag. Now you can toss one cube directly into soup, pasta sauce, or a pan while cooking.
Use water if you want the most neutral option that works in any recipe. Use oil if you’re planning to sauté or roast something. The choice really just depends on what you cook most often.
Another space-saving trick is the flat-pack method. Chop your herbs, slide them into a small sandwich bag, and press them into a thin, even layer before sealing and freezing. When you need some, just break off a corner. It takes up barely any room and thaws in seconds.
Some tender herbs like basil or cilantro freeze well as whole leaves too. Lay them flat on a small tray, freeze until firm, then transfer to a bag. You can crumble them straight into hot dishes.
Whatever method you pick, write the herb name and date on the bag with a marker. Three months from now, frozen green bits all look the same.
Choose the right method for the herb and your next few meals
When you snip a handful of herbs from your apartment windowsill, you don’t need a grand preservation plan. You just need to think about two things: how soon you’ll use them, and what you’ll put them in.
If you’re cooking with those herbs in the next two to four days, just keep them fresh. Trim the stems, pop them in a glass of water like a tiny bouquet, and leave them on the counter or in the fridge. Basil and mint do fine on the counter. Parsley and cilantro prefer the fridge.
If you’ve got woody herbs like thyme, rosemary, or oregano and you know you won’t need them this week, drying makes sense. These herbs hold their flavor well when dried, and they take up almost no space once they’re ready. Just bundle a few stems with string and hang them somewhere with air flow, or lay them on a plate if hanging isn’t practical in your space.
For tender herbs like parsley, cilantro, or dill that you want to save for soups or sauces later, freezing works better than drying. Chop them up, pack them into an ice cube tray with a little water or oil, and you’ve got flavor bombs ready to toss into a pan. Mint is flexible: keep it fresh if you’re making mojitos this weekend, or freeze it in cubes for tea or smoothies down the line.
With a small apartment harvest, you’ll probably use different methods for different herbs at the same time. That’s completely normal. There’s no rule that says you have to pick one approach and stick with it. Just match the method to what’s actually happening in your kitchen this week.
Fix the most common apartment herb storage problems
When your basil leaves turn into a slimy mess in the fridge, you’re dealing with too much moisture. This happens when condensation gets trapped around the leaves or when you stored them while still wet. The fix is simple: take them out, pat them completely dry with a clean towel, and wrap them loosely in fresh paper towels before putting them back. Change those paper towels every day or two if they feel damp.
Limp, sad-looking herbs usually mean the opposite problem. They’ve lost too much water or got bruised during storage. If the stems are just droopy, trim the ends like you would with flowers and put them in fresh water. Sometimes herbs get crushed when there’s too much empty space in a container, so try switching to a smaller jar or bag that fits them snugly without packing them tight.
Mold shows up as fuzzy spots, usually white or grayish. It means the herbs went into storage wet or sat somewhere warm in an airtight container. Once you see mold, those leaves are done. Toss them and start fresh with completely dry herbs next time.
If herbs in water start smelling off or the water looks cloudy, dump it out immediately. Rinse the stems under cool water, trim the ends again, and refill with clean water. This should happen every two or three days anyway to keep things fresh.
Freezer burn shows up as dry, discolored patches on frozen herbs. It happens when air touches them in the freezer. Press as much air as possible out of freezer bags, or make sure containers are filled to the top. The herbs are still safe to use, but the burnt spots won’t taste like much.